Table of Contents
How To Install Apache And PHP On The Windows
If you want to install Apache and PHP on the Windows OS of your computer, you have to download their installation packages and installation manuals from their respective websites at first. I have already published an article discussing the methods of downloading and installing Apache server on windows platform, you can refer it from there. After you have installed the Apache server successfully on your computer, you can download the required PHP distribution package from the PHP website and install it on your computer. You can found three types of installation packages on the page of PHP for windows, which include source package and windows zip package. With the source package, you can compile from source for windows platform.
The windows installer version of PHP offers a convenient Windows installer interface for installing and configuring PHP, which automatically configures the Apache, IIS, PWS, and Xitami servers. In this tutorial, we will discuss in detail about downloading, installing, and configuring PHP with windows zip package.
Download The PHP Manual
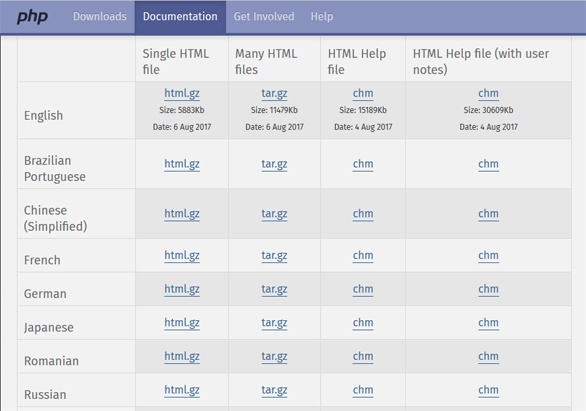
All of the PHP projects offer truly explanatory documentation with covering every expects of the respective technology in detail. PHP documentation is available on online along with downloadable files on different formats in various languages, which are single HTML file (html.gz), many HTML file (tar.gz), HTML help file (chm) and HTML help files with user notes (chm).

Download The PHP Package
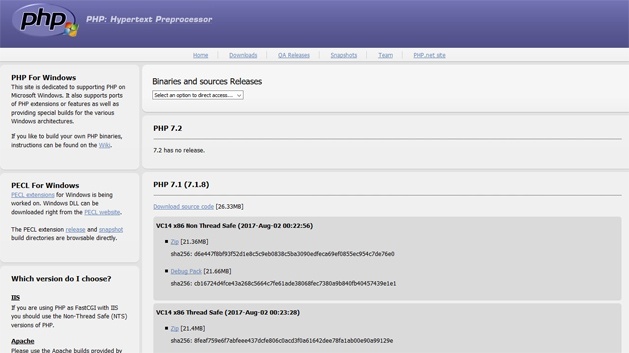
You can download the latest released version of PHP for windows from the page http://windows.php.net/download which are dedicated to supporting PHP on Microsoft windows. The installation packages are available either with source code or without source codes. The latest versions of PHP are available along with supporting for windows having 64 bits.

Install PHP With Windows Zip Package
1. After completing the download, you can install it to your computer but you have to make sure that the Apache server have been installed successfully on it.
2. Unzip the PHP package, that you have just downloaded and placed the contents into C:/PHP. You are allowed to choose any of the installation directories but avoid choosing a path that contains spaces.
3. Rename the php.ini-dist file to php.ini and save it to the PHP installation directory. The php.ini file contains hundreds of directives that are responsible for tweaking PHP’s behavior, you can configure it as your requirements.
4. Configure httpd.conf file for PHP which is located on Apache directory. Refer to the next session in this tutorial for configuring httpd.conf file for PHP.
5. If the Apache is not started highlight the label and click on start the service, located on the left of the label. If it is started, highlight the label and click on restart the service so that the changes made to httpd.conf file takes effect.
Configure The Apache For PHP
After successfully installing the Apache server and PHP on windows platform, you have to configure httpd.conf file in order to run PHP and Apache server. The following are the steps for configuring httpd.conf file on Apache for PHP.
1. At first, go to Apache installation directory and open httpd.conf file for editing which is located on the conf directory. If you have installed Apache on C: , navigate to C:/apacheconf to open httpd.conf file.
2. Consider adding the following line of code directly below the block of LoadModule entries.
LoadModule php_module C:/php/php5apache2_2.dllThe name of .dll file will be different for a different versions of PHP.
3. Now, search for “AddType” and add the following line of code just below it.
AddType application/x-httpd-php .php4. At last, go to the bottom of the file and add the following line of code.
PHPIniDir "C:php"Test The PHP On Apache Web Server
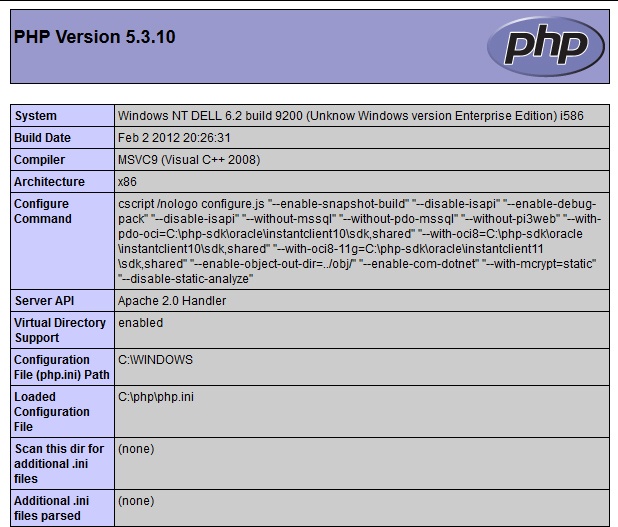
After you have successfully installed and configured it for Apache, you can test on your web server. In order to test, write the following code on the notepad and save it with the file name “phpinfo.php”.
<?php
phpinfo();
?>
Save this file under the “htdocs” folder located on your Apache installation folder. Go to your browser and open “http://localhost/phpinfo.php”, if you see the following screen on your browser, PHP was installed successfully.


